Showing posts with label DIY. Show all posts

Thursday, December 3, 2015

DIY Alex and Ani Bracelets

After months of admiring the stacks of bangle bracelets on people arms, I decided to do a little research and potentially purchase my own. Alex and Ani bracelets can range from $28-$100, but I made my own set of two for under $10.
All you need is a set of bangle bracelets and any charms that you may want to add, I was able to find all of these things at Michael's Craft Store.


Untitled #216


Bangles (Michael's)
Charms (Michael's)

Thursday, June 19, 2014

DIY: Jewelry Box


While shopping, I came across this tiny wooden box, and instantly thought it would be perfect for a DIY. You can make this easy and affordable jewelry box for under $5.
You need:
- a small wooden, or plastic box (this one was on sale at Target for under $3)
- your choice of spray paint ($0.97 at Home Depot)
- optional decorations
- an outdoor work space

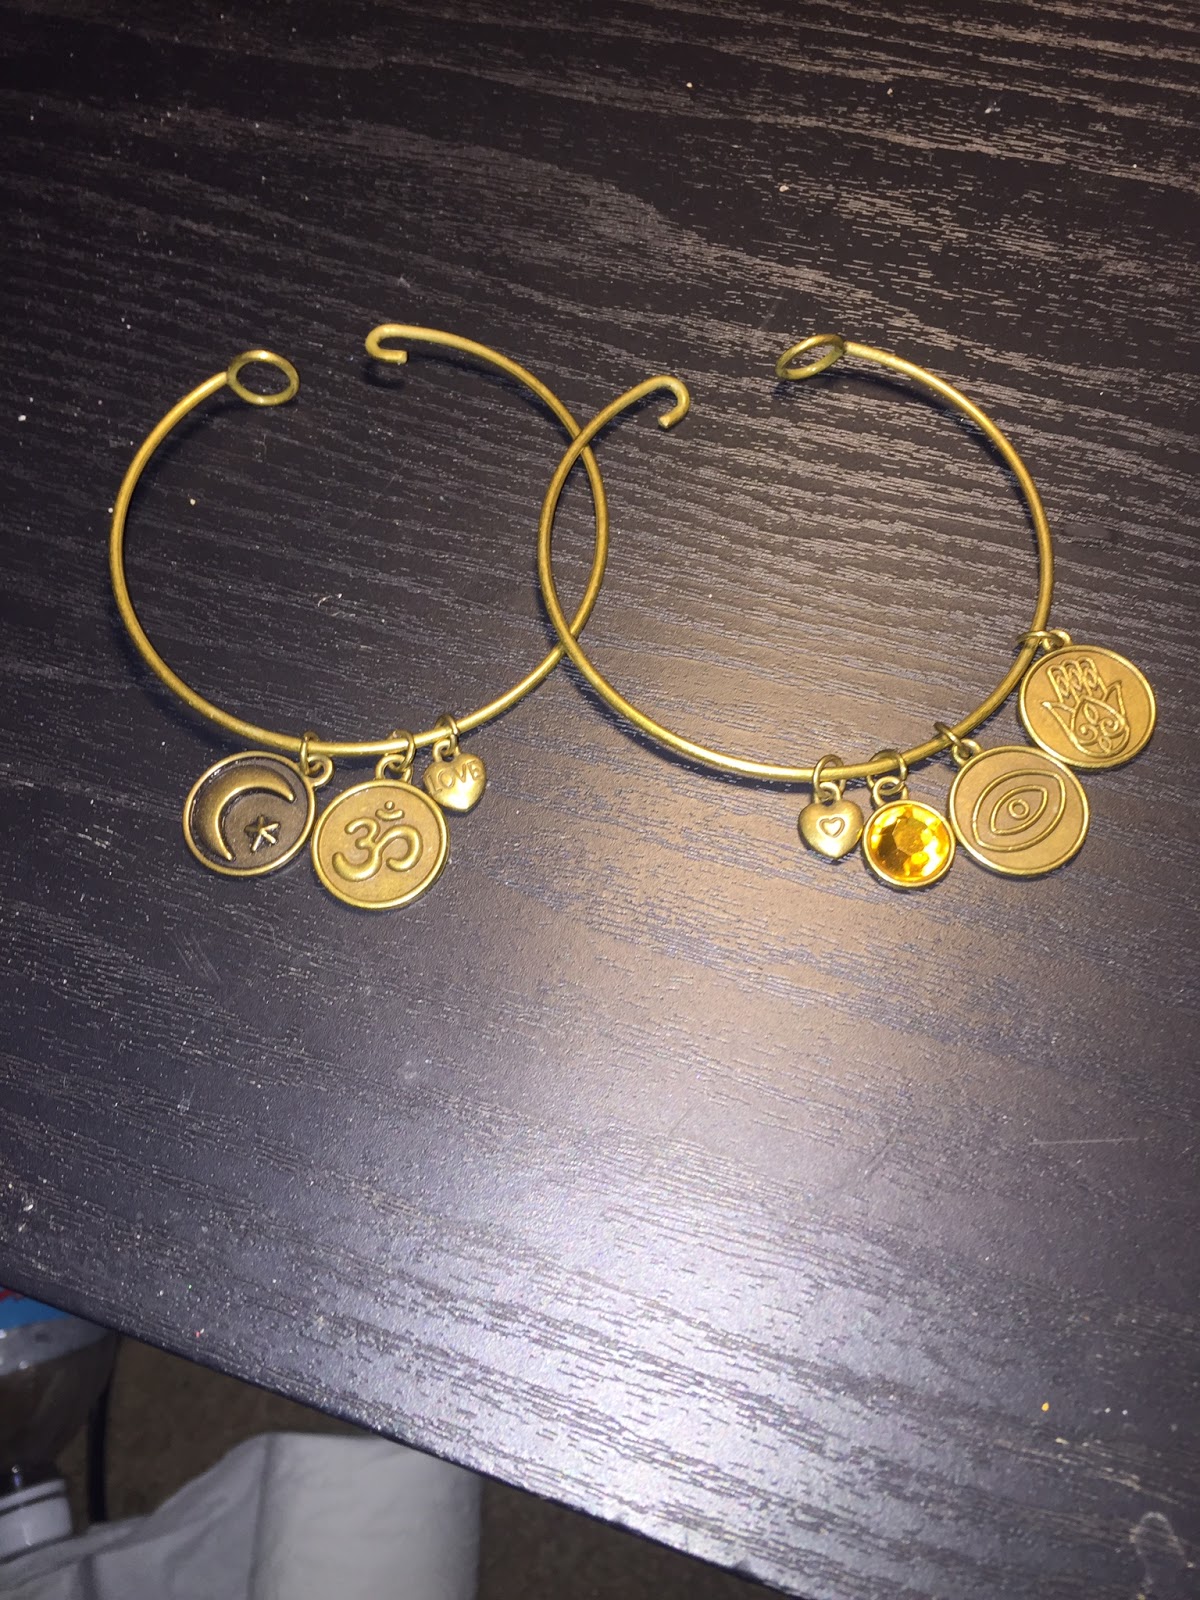
I made the mistake of doing this on a windy day so my newspaper was blowing everywhere. I sprayed my first coat of paint, then let it dry for about 30-40 minutes before going over it another time. I did a total of four layers of paint (two on the outside and two on the inside of the box). I picked up a few pendants and decorations from Hobby Lobby, but haven't decided if I'm going to add them yet.


Sunday, April 27, 2014

Easter Cupcakes

Okay so I'm not really sure if this counts as a DIY, because it's not technically made from scratch, buuuut I have a secret obsession with baking cupcakes and cakes so when Easter came around I saw it as the perfect opportunity to make something. Even though they are pink, the icing and the cake are both vanilla flavored. These were really good and I think the color was really cute and spring themed. Did you guys make anything special this past Easter?

TIP: If you can't find colored mix, you can just buy food coloring and add it in before you bake in the oven :)


Friday, January 3, 2014

DIY: Spot Treatment


Since I had to spend most of my Friday being snowed in. I thought here is a good chance to post my very first DIY. I discovered the Honey & Nutmeg Spot Treatment on the Internet a while ago, but I only got around to trying it, in the last few months. With only 3-4 steps this is a super easy way to even out your skin tone, or to clear up a few dark marks/scars. I use this every 2-3 days and saw a difference in my skin after the first week! Try this at home and comment on how it worked for you :)


For this DIY you will need:
  • Honey
  • Nutmeg
  • Bowl or cup
  • Spoon
  • Measuring Cups
While there are no exact measurements for this, I found that it comes out better if you equally add your ingredients. I am using the 1/4 cup and filling it half way with honey first, followed by the nutmeg. (You can use any size measuring cups depending on how much you want to make)


,

After measuring out my amounts I am going to add them to the bowl.


The last step is to grab your spoon and mix everything together. To apply I usually use a plastic spoon and will leave it on for 20-40 minutes. When you're ready to wash your face, I would definitely suggest wiping the excess mixture off your face with a wet napkin or paper towel, this makes it waaay easier when washing. Now you just rinse with your favorite facial cleanser and you are on your way to even skin!